Action Creation and Management
Action is the fundamental building block of web page interaction in SmartestQA. In this guide, you'll learn element capture with Chrome Plugin, action types, selector best practices, and Action Library management in detail.
What is an Action?
An Action is a single operation performed on a web page. Clicking a button, typing text in a form, selecting from a dropdown - each of these user interactions is an action.
Reusable
Create once, use everywhere
No Code Required
Created visually
Centralized Management
Updates reflect automatically
Action vs Step: What's the Difference?
Action = A reusable component defined in the Action Library
Step = A sequential step within a testcase
You can use one action as a step in multiple testcases. When the action is updated, all related steps in testcases are
automatically updated.
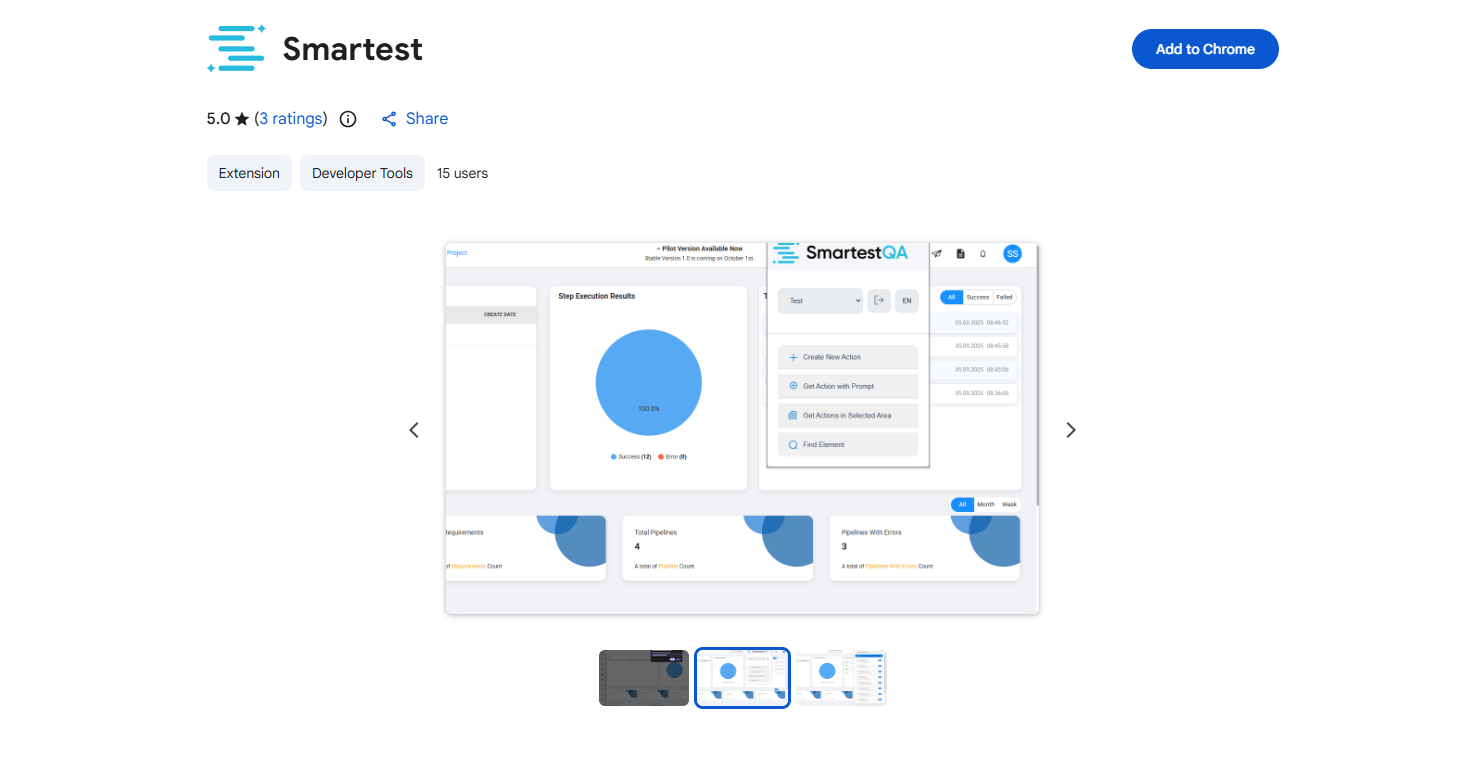
Chrome Plugin Setup
The SmartestQA Chrome Plugin is used to capture web elements and create actions. Installation takes 2 minutes.
Go to Chrome Web Store
Search for "SmartestQA" in Chrome Web Store or click this link.
Add to Chrome
Click "Add to Chrome" button and approve the permissions.
Log in to Plugin
Click the SmartestQA icon in the toolbar and sign in with your account.
Ready!
Plugin is active. You can now start capturing elements.
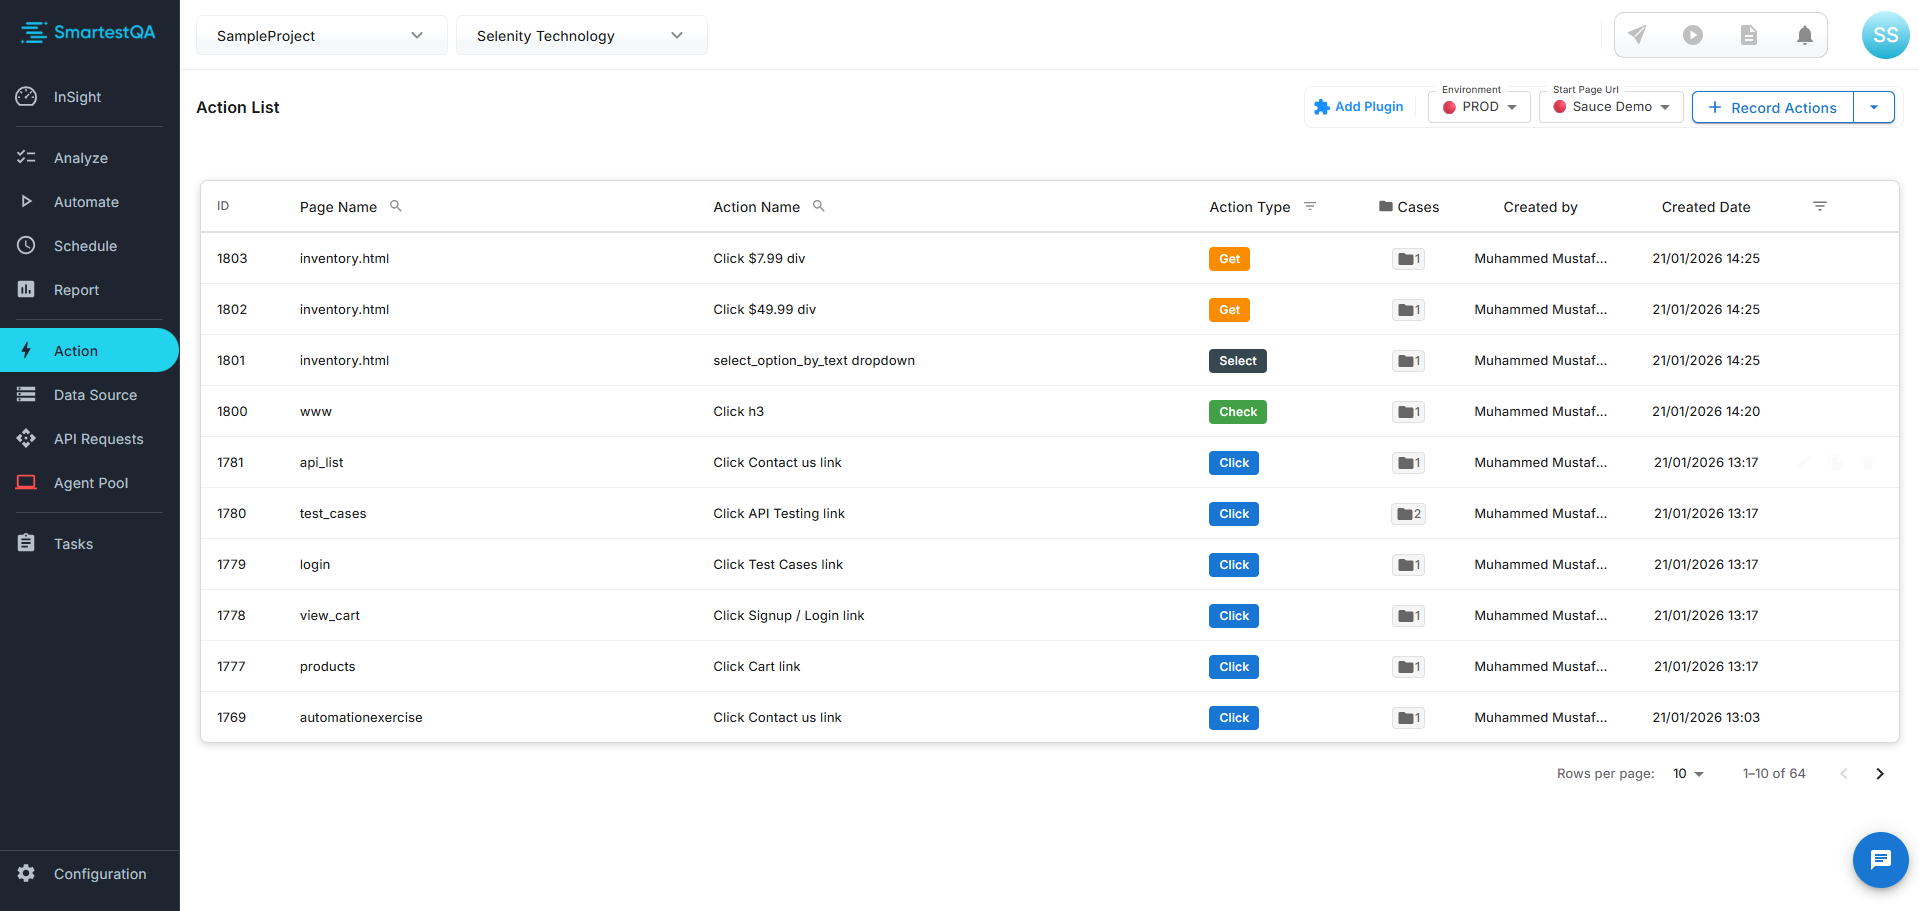
Record Actions
The Record Actions feature lets you record all your interactions on a live web page automatically. The SmartestQA Chrome Extension runs silently in the background, capturing every click, input, and navigation — along with screenshots — and saves them directly to your project.
Select a URL on the Actions Page
On the Action List page, choose your target environment and select the Start Page URL from the dropdown in the top toolbar.
Click "Record Actions"
Click the "+ Record Actions" button in the top-right corner. The selected URL will automatically open in a new browser tab.
Interact with the Page
Perform your actions on the page as you normally would — click buttons, fill in forms, navigate between pages. The Chrome Extension records every interaction in the background without interrupting your flow. A notification in the bottom-right of the screen indicates that recording is active.
Close the Tab to Finish
When you are done, simply close the browser tab. Recording stops automatically and all captured actions — including screenshots for each step — are saved to your project's Action Library.
What gets recorded?
- Every click, type, select, and navigation interaction
- A screenshot captured at each interaction step
- Page name and action name automatically derived from the page context
- Action type (Click, Get, Check, etc.) detected automatically
Manual Creation (Form)
You can also create actions manually using the Create Action form. This is useful when you know the element's locator details in advance or want to create actions without opening a browser session.
Click the dropdown arrow next to the "Record Actions" button and select "Manual Creation (Form)" to open the Create Action dialog.
Action Section
Page Name
The page or module this action belongs to. Used for organizing actions in the library
(e.g., login, homepage, checkout).
Action Type
Select the type of action from the dropdown (e.g., Click, Type, Get, Check, Navigate). Determines what the action does when executed in a test case.
Action Name
A descriptive name for the action. Use meaningful names that describe what the action does
(e.g., Click Login Button, Type Email Input).
Action Detail — define the element locators
The Action Detail section defines the locator(s) used to find the element on the page. Each row represents one locator strategy. Click "+ Add Action Detail" to add multiple locators as fallbacks.
Tag Name
The HTML element type (e.g., button, input, a, span).
Key
The selector type: xpath, css, id, name, linkText, etc.
Value
The actual selector value (e.g., //button[@id='login'] or #login-btn).
Example: Creating a "Click Login Button" Action
loginClickClick Login Buttonbuttonxpath//button[@data-testid='login-submit']Save
Click the "Save" button to add the action to your Action Library. The action will be immediately available to use as a step in any test case.
Action Types
SmartestQA has 17+ action types. Most commonly used ones:
Click
Click on element. For buttons, links, checkboxes, radio buttons.
DoubleClick, RightClick variants
Type
Type text in input, textarea. Clear + Type option available.
{{param}} or ${data} supported
Select
Select from dropdown. By Value, Text, or Index.
Multi-select supported
Hover
Move mouse over element. For dropdown menus, tooltips.
MoveToElement
Navigate
Go to URL, back/forward, refresh. Page navigation.
GoToUrl, Back, Forward, Refresh
JavaScript
Execute JavaScript. DOM manipulation, custom logic.
Return value becomes parameter
Get
Get value, text, or attribute from element.
GetText, GetAttribute, GetValue
Assertion
Verify expected values. Text, attribute, URL checks.
Equals, Contains, NotEquals
VisibilityCheck
Check if element is visible or hidden on page.
isDisplayed, isEnabled, isSelected
Python
Execute Python scripts. Custom logic and data processing.
Return value becomes parameter
More Action Types +7
AI
AI-powered test step generation. Natural language prompts.
Prompt-based action creation
ApiRequest
Send HTTP requests. REST API testing with validations.
GET, POST, PUT, DELETE
JDBC
Database operations. Run SQL queries and validate data.
SELECT, INSERT, UPDATE, DELETE
GlobalParam
Set or get global parameters. Share data across test steps.
SetGlobalParam, GetGlobalParam
JMeter
Performance testing. Upload and run JMeter test plans.
.jmx file upload
Email operations. OTP extraction, link capture, send/receive.
ExtractOtp, ExtractLink, Send, WaitFor
BrowserCommands
Browser-level commands. Control browser state and behavior.
Browser control operations
Selector Types
A selector is the address used to find an element on a web page. Choosing the right selector is critical for test stability.
XPath
The most flexible selector type. Can search by element hierarchy, attributes, text content.
By ID:
//input[@id='email']
By Class:
//button[@class='btn-primary']
By Text content:
//button[text()='Login']
Partial text:
//a[contains(text(),'Continue')]
By data-testid (Best Practice):
//button[@data-testid='login-button']
CSS Selector
Uses CSS syntax. Faster than XPath but less flexible.
By ID:
#email
By Class:
.btn-primary
By Attribute:
input[type='email']
Child element:
form.login-form > button
ID
Fastest and most stable. Must be unique.
id="login-button"
Name
Common for form elements.
name="username"
LinkText
Find by link's exact text.
"Forgot Password"
PartialLinkText
Find by partial link text.
"Forgot"
Action Library
Action Library is the central repository for all your actions. Access it by clicking Action in the left menu.
Search
Filter by name or tag
Categories
Group by module
Edit
Update selector, parameter
Best Practices
Use data-testid
Coordinate with your development team. Add data-testid attributes. This provides stable selectors
unaffected by UI changes.
Prefer Relative XPath
Instead of //html/body/div[1]/div[2]/form/button
Use //form[@id='login']//button[@type='submit']
Meaningful Naming
Instead of Click_Action_1
Use Click_Login_Submit_Button
Avoid Index-Based Selectors
Selectors like //div[3]/button[1] break on DOM changes. Prefer attribute-based selectors.
Troubleshooting
Element not found (NoSuchElementException)
Possible causes:
- Selector is wrong or outdated
- Element hasn't loaded yet (add Wait)
- Element is inside iframe (add SwitchFrame)
- Element is in another window (add SwitchWindow)
Stale Element Reference error
Solutions:
- Add Wait for Element Visible before the action
- Recapture the element after page refresh
- Use a more stable selector
Element not clickable (ElementClickInterceptedException)
Solutions:
- Add Scroll to Element
- Close overlay/popup
- Use Wait for Element Clickable
- Try JavaScript click
Frequently Asked Questions
What is an action and what is it used for?
An action is a single operation performed on a web page. Clicking a button (Click), typing in an input (Type), selecting from a dropdown (Select) are basic web interactions. In SmartestQA, actions are created without code and used as steps in testcases.
What's the difference between XPath and CSS Selector?
XPath is more flexible and powerful - can search by parent-child relationships, text content. CSS Selector is faster but more limited. For complex cases use XPath, for simple cases use CSS Selector.
How to capture dynamic elements?
1) Use relative XPath
2) Target stable attributes (data-testid, aria-label)
3) Use contains(), starts-with() functions
4) Combine multiple attributes
How to access elements inside iframe?
1) First add SwitchFrame action
2) Add actions for elements inside iframe
3) Add SwitchToDefaultContent action to return to main page
What are the Wait action types?
1) Wait for Element Visible - Wait until element becomes visible
2) Wait for Element Clickable - Wait until element becomes clickable
3) Wait for Element Present - Wait until element exists in DOM
4) Wait for Text - Wait until specific text appears
5) Static Wait - Wait for fixed time (not recommended)